Disable or Enable Hibernation in Windows
Disable or Enable Hibernation in Windows
Hibernation is a special power saving state designed for laptops which do not have easy access to power supply for an extended amount of time. When you put your computer to sleep, your running programs stay in the memory (RAM) and your computer keeps drawing power to keep the RAM running. Hibernation on the other hand stores the content of your computer's memory on the hard disk in a hidden protected system file (C:/hiberfil.sys) which generally consumes disk space equal to 75% of your computer's RAM size.This means that all your running programs and open documents are stored on your computer's hard disk as opposed to staying in the RAM. So, after hibernation, when you start your computer, your running programs are loaded in your computer's memory from your computer's hard disk. This leads to a reduction in the amount of power consumed as your computer does not constantly need power to keep your RAM running.
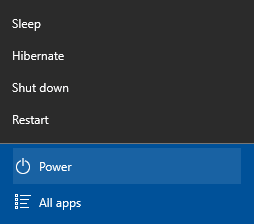
This article contains some methods you can use to enable or disable the Hibernate option in your computer. You need to use an Administratoraccount for these methods to work.
Disable or Enable Hibernation with the Registry Editor
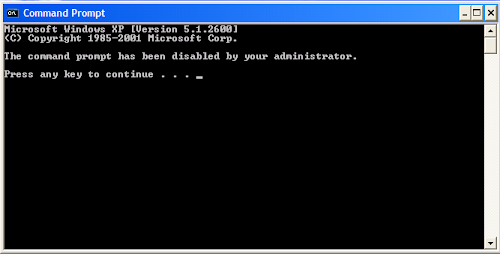
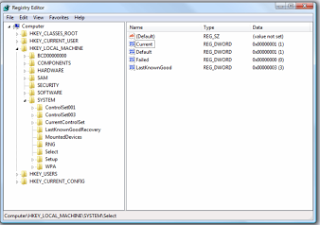
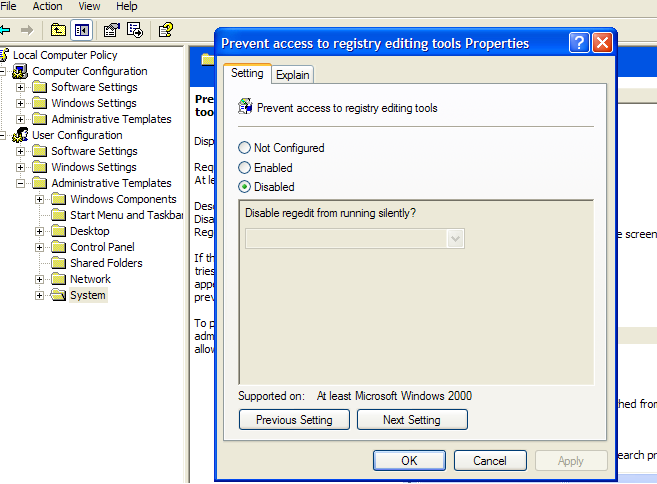
1) Press Windows key+R key combination to load the Run dialog box. Type "regedit" without quotes and press Enter to load the Windows Registry Editor. A warning from UAC might be displayed. If you receive an error stating that the "Registry Editor has been disabled by your Administrator", you need to enable it first.2) In Registry Editor, navigate to "HKEY_LOCAL_MACHINE\SYSTEM\CurrentControlSet\Control\Power".
3) In the work area, look for Dword value "HibernateEnabled" and double click on it.
4) In the pop up box, type 1 in the value data field to enable hibernation and click OK. This will restore the hiberfile.sys file in your system drive and start showing "Allow Hybrid sleep" and "Hibernate" under power options after sleep.
5) To disable Hibernation, enter 0 in the value data field in the previous step. This will also remove the hiberfil.sys from your system drive which will free up some space.
6) Restart your computer for the changes to take place.
Disable or Enable Hibernation by simply executing a Registry(.reg) file
1) Open Notepad.2) To enable the Hibernate option, copy and paste the exact code given below.
3) To disable the Hibernate option, copy and paste the code given below.
4) Save the file as "Hibernate.reg" or "*.reg".
5) Double click on the saved file. You might need to agree to a warning from the UAC.
6) Restart your computer for the changes to take place.
Disable or Enable Hibernation using the elevated Command Prompt
1) Open Start Menu/ Screen.2) Type "cmd" in the search box and press Ctrl+Shift+Enter key combination to launch the elevated command prompt. A warning from UAC might be displayed.
3) To enable Hibernation, type and execute the following command.
4) To disable Hibernation, type and execute the following command.
5) Close the command prompt and restart your computer for the changes to take place.
Note: If the Hibernate option is not visible in Power menu after enabling it or you want to remove it from the Power menu, go to Power Options from the Control Panel's Icons view. In the right navigation menu, click on "Choose what the Power buttons do". In the following window, click on "Change settings that are currently unavailable". A warning from UAC might be displayed. If you have completely disabled notifications from UAC, no such link will be there and you can directly move forward. Then under Shutdown settings, tick the "Hibernate" option to show it in Power menu. To remove it from the power menu, untick the "Hibernate" option. The techniques mentioned in this article work on Windows 10, Windows 8.1, Windows 8 and Windows 7.


